

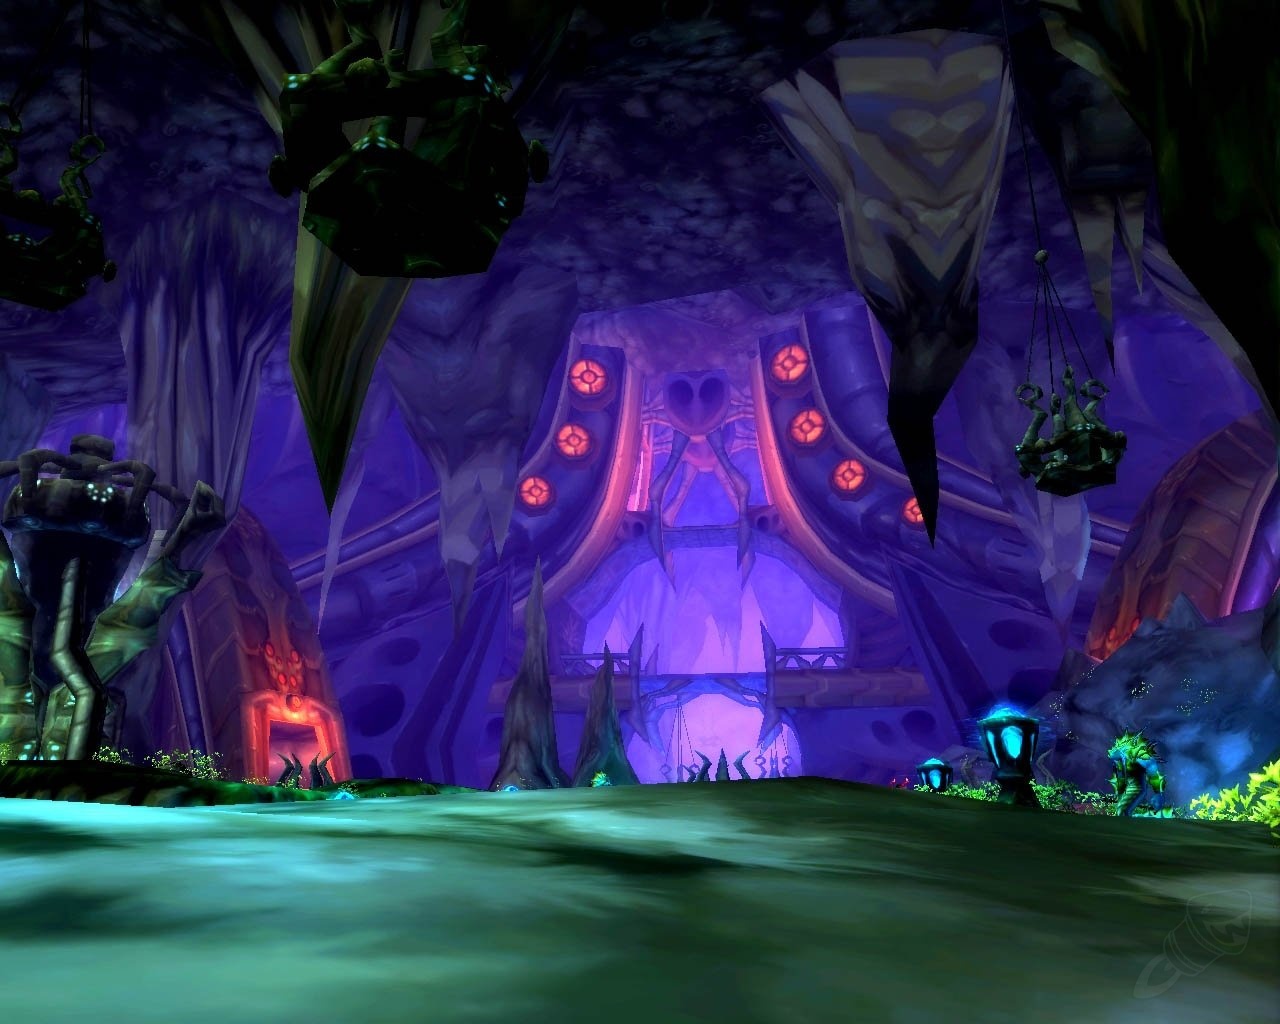
The instance of slave lairs is located in the Zangarmarsh and is one of the two five-player instances of Coilfang in WoW: Burning Crusade, along with the underbog.
The Zangarmarsh Slave Pens instance is one of the dungeons on The Burning Crusade that will become available with WoW Patch 6.2 via the Timewalking Event. Since your characters will be downscaled to level 70 for the duration of the instance visit, the Slave Pens actually play like they did back then. Except that, of course, you have more skills at your disposal. Accordingly, we have only rudimentarily adapted our guide to the dungeon, since it has not lost its validity despite time travel. Have fun!
Slave Pens is the easier of the two Coilfang dungeons and is suitable for players of level 62 and above in non-heroic mode. But don’t underestimate the challenge: the sheer mass of enemies and the toughness of the bosses will demand a lot of skill and stamina from you.
You can get to the coil catcher by diving down into the Zangar Marsh, in the middle of the Snake Lake. There you will see open pipes from which bubbles are rising. You dive through the pipes and reach the entrance area of the four instances. Here you will find a quest giver who will give you the quest “Lost At Work”: You have to rescue four NPCs, two of which are in the Slave Stables and the other two in the Underbog instance.
At the beginning, you’ll encounter two quickly patrolling groups of four to six bugs, the so-called swamp troks. Although warriors can hardly tank all of them at the same time due to the large number of enemies, the tank should still try to tie up as many enemies as possible. The job of the damage classes, of course, is to kill the tank’s primary target as quickly as possible. Watch out for your healers, because the nasty bugs like to turn around after a critical heal. The Great Swamp Trolls, in particular, strike more often with critical hits. Deeper into the instance, you’ll encounter Naga, the slavers of Coilfang. These are usually accompanied by several enslaved wastelanders, who will also attack as soon as you attack a Naga.
Tip. Do not damage the wastelanders – for example with AE spells like BLIZZARD! Because with the death of the naga slavemaster, the wastelanders are free and leave the instance immediately – but only if you didn’t harm them. So you save a lot of time if you leave the wasteswalkers alone. After a short while, you’ll come to a very large room where you must always be alert; it’s swarming with Naga and Swamp Strok patrols. If you accidentally pull the stroks out of the entrance, all the enemies nearby will usually come running, resulting in certain death. Therefore, tackle the Naga groups one by one and always pull them into the corridor with you.
Danger: Coilfang champions cast the Threatening Scream. If you are accidentally steered into the middle of the room or into the next group, this usually ends in a wipe. Kill Coilfang watchers as soon as possible, as they deal reasonable damage with FIREBREAK and DYNAMITE STAKE. Stay to the left after the first groups and avoid the enemies further back in the room. Finish off the next two groups of Strok near the cauldron. Not far from there, you’ll see an entrance with two coil-catching defenders as guards. With a little skill, you can reach this entrance without the group to the right reaching it. Except for SHIELD SLASH, which interrupts your spells, and SPELL REFLECTION, these enemies have nothing on you. When you use CELL REFLECTION, be sure to adjust the group’s magic damage,
Continue to Mennu We continue
through the entrance. Here you are safe for the time being and can regenerate and renew your buffs. At the end of the corridor, a group of two technicians awaits you on the left, who can conjure up a devastating RAIN OF FIRE, as well as two Coilfang employees, who only strike half-heartedly. There are also a few technicians patrolling the right side. On the walkway leading up, you’ll encounter the first boss: Mennu the Traitor. It is advisable to clear the left corner with the technicians and collaborators and move the fight against Mennu there after a targeted move. Otherwise, there is a risk that other groups will enter the room. Mennu itself is a tough nut to crack. But if you take our tips to heart, you’ll be on the safe side.
After the fight, clear the room enough so that you can walk up the bridge unharmed. There you will find more patrols of defenders, technicians and collaborators, but you can easily eliminate them. Then run up the semi-circular corridor either to the left or to the right – depending on which side there is a patrol you want to avoid. You will come to a narrow bridge that is also guarded. Then you go either left or right again, but after a few meters it’s over – only water under you! But don’t worry, like in the Maraudon instance, you can jump down without anything happening.
Be careful when you come out of the water, otherwise you’ll have the roaming groups on your back. Therefore, you have to get out of the water as a group at the right moment and jump directly onto the left of the two groups, because that’s where you have to go anyway. Again, these are two technicians accompanied by a coil-catching enchantress who inflicts high nature damage with her lightning strikes. In addition, if you have the Lost at Work quest, you’ll also need to take out the three-man patrol on the walkway, because the missing hunter Greenfinger is waiting to be found up there. On the left side is the passage that will lead you to the next room.
The last two bosses
In front of the exit, two defenders are waiting again, which you can easily finish off. Now you have to be careful: On the left side there is already the next boss Rokmar the Crusher. In front of him, however, is another Strok group, which you better pull off without Rokmar. Then the fight against Rokmar can begin. After the fight with Rokmar, don’t go straight ahead, but take the path on the right that leads you upwards. Here you’ll also encounter Astrologers and Coilgas Whirlwinds for the first time; the latter fight like rogues, but do less damage in close combat than with their poisons. The astrologers should fall quickly, as they cast powerful spells (ARKANE MISSLES) and heal enemies. The monster groups are now almost all four naga and one ray, so get ready for some tough fights. The rays attack individual players with PSYCHOLOGICAL HORROR, which makes the fights a bit chaotic. As you go up the stairs, you’ll only encounter a few enemies and Wasteland Walkers workers there before you get to the lair of the final boss, Quagmirran.
Groups of enemies there guard the quest NPC Naturalist Biss, whom you must find for the Lost at Work quest. Before you or any of your party members talk to Bite, be sure to clear the entire room of enemies, as several naga will attack after the conversation. In any case, try to keep Bite alive and talk to him again after the fight – you will receive a buff that will increase your nature resistance. Once that’s done, it’s up to the boss Quagmirran (see the “Quagmirran” box) to get his hands on him.
The bosses in the
Slave Stables Mennu, the Traitor
Mennu is a shaman who constantly plants totems during combat. These are also the key to success in the fight against him. More important than anything else is to get rid of the totems as quickly as possible. This task should be done by a melee fighter or a hunter. Besides, his lightning strike does a lot of damage, so the healer must always watch out for damage spikes. A good tactic is to constantly drain Mennu’s mana so that Mennu doesn’t drop any more totems during the fight.
Rokmar
Rokmar is not an easy opponent. In battle, he regularly shoots Frostbolts at all players, dealing consistently high damage to the entire party. His physical damage to the tank is also nothing to sneeze at. However, the most fatal thing is his SCARY wound. This DoT on the tank is particularly severe and requires the healer’s special attention. Due to these characteristics, Rokmar should fall as soon as possible, the damage classes really have to give their all here. Otherwise, the healer is in danger of quickly being without mana, as he must constantly heal all players and especially the tank via group healing. Good healing and high damage make this fight what it is.
Draw Quagmirran
Quagmirran out of the water, but be careful that he doesn’t immediately run into the group and use SPLIT to cut the life points of the cloth bearers in half. This is by far the hardest fight in this instance. This is mainly due to the very strong melee damage and the immense nature damage that Quagmirran deals. Without nature resistance, you will have a very hard time here. Cloth bearers should therefore not approach him for a second and keep maximum distance from Quagmirran. The DoT left by the POISON BLURNT SALVAGE must be removed immediately (e.g. with a totem), without resistance the damage per tick would simply be too high.
What is WoW Classic?
World of Warcraft Classic is a true recreation of the original WoW as you know it from 2006. All parts of the game – from combat mechanics and talent trees to character models and zones – have been recreated, contributing to the authentic experience.
Getting Started
All players with an active World of Warcraft subscription or game time on their accounts have access toWoW Classic at no additional cost.
- Open the Blizzard Battle.net Desktop App and select World of Warcraft from the menu.
- Select World of Warcraft Classic from the Version menu. If you have more than one World of Warcraft account, you’ll see a second Account drop-down list. In this column, select the active account you want to play with.
- Click the Install button. The progress bar will tell you when your game is ready to play.
- Click the Play button when the installation is complete.
You will need to select the realm you want to play on from several different realm types. Make sure you choose the same realm as your friends – in World of Warcraft Classic, you can only group with characters that are on the same realm as you!
Heroes&WIKI, WoW Classic, World of Warcraft Classic, WoW Classic Guide, WoW Classic Guides