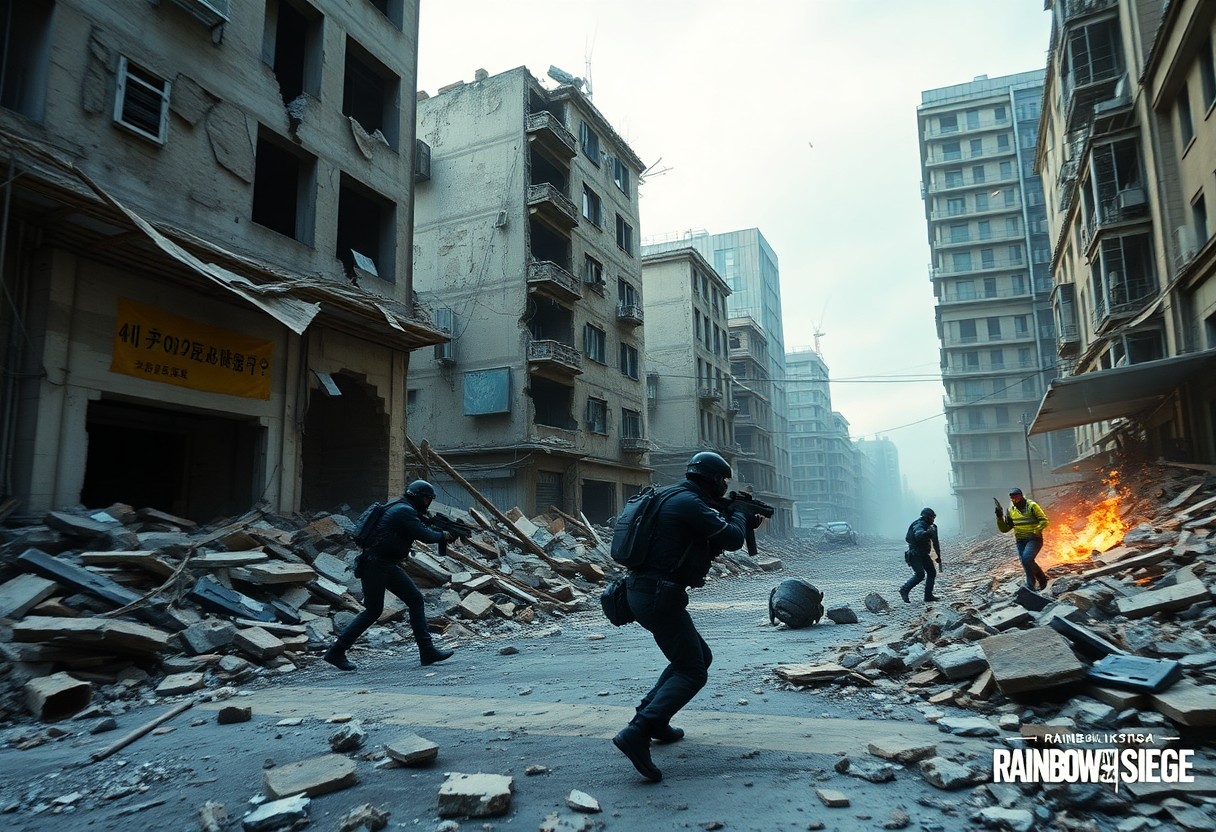
Destruction plays a pivotal role in Rainbow Six Siege, allowing players to creatively manipulate their surroundings to gain an edge over opponents. Understanding how to leverage environmental destruction can dramatically change the dynamics of a match. In this guide, we’ll explore strategic tips and tricks to effectively utilize breaches, walls, and windows, ensuring you maximize your impact on the battlefield. Get ready to transform your gameplay by becoming a master of the environment!
Understanding Destruction Mechanics
Your ability to harness environmental destruction in Rainbow Six Siege begins with a solid grasp of the mechanics that underlie it. Destruction can drastically change the flow of a match, and knowing how different surfaces react to various actions can give you a significant tactical advantage. This chapter will explore the basic wall types, their properties, and how the impact of different weapons plays into your gameplay strategy.
Basic Wall Types and Their Properties
Their different wall types in Siege come with unique properties that dictate how much destruction they can withstand. Some walls are easily breached, while others offer more resistance. Understanding these variations allows players to plan their approach according to the environment they’re in. Here’s a breakdown of some key wall types:
| Wall Type | Properties |
|---|---|
| Reinforced Walls | High durability, resistant to most breaches. |
| Soft Walls | Can be easily destroyed with explosives or bullets. |
| Hatches | Accessible from above, can be opened or destroyed. |
| Windows | Easily broken but can be secured or barricaded. |
| Hard Walls | Provide moderate resistance, vulnerable to specific tools. |
- Understanding these wall types can inform your strategy.
- Utilize soft walls and windows for quick entry points.
- Apply explosives for maximum environmental impact.
- Coordinate with your team for effective breaches.
- Thou shall always take note of wall types in your planning.
Impact of Different Weapons on Surfaces
An understanding of how various weapons interact with different surfaces is paramount for effective gameplay in Rainbow Six Siege. While some firearms can easily breach soft walls and windows, others may require more time and precision to accomplish even minor destruction. For instance, shotguns and explosives are adept at demolishing soft walls or creating new sightlines, while assault rifles can chip away at health without completely destroying cover.
The selection of your weapon can significantly alter your approach to environmental destruction. Utilizing machines like breaching charges or the Thermite charge optimalizes the effectiveness against reinforced walls, whereas shotguns can reap rewards in close-quarters combat against soft surfaces. Incorporating these weapons into your strategy will not only help you move more effectively but also keep your enemies second-guessing their positional advantages.
Essential Tools and Operators
Some operators in Rainbow Six Siege truly shine when it comes to utilizing environmental destruction to their advantage. Understanding which characters excel in this area can make all the difference in a game. Operators like Maverick and Ash are renowned for their ability to create openings in walls and hatches quickly, allowing your team to effectively change the dynamics of the battlefield. Meanwhile, operators like Sledge and Buck can demolish surfaces, creating strategic sightlines and pathways that can set the stage for a well-coordinated attack or defense.
Best Operators for Destruction
Even though many operators can contribute to environmental destruction, several stand out for their unique abilities. Maverick, equipped with his blowtorch, can create small holes in reinforced walls, offering his team a sneaky peek into enemy territory. On the other hand, Ash’s explosive projectiles can breach doors and walls from a distance, making her a fantastic choice for quick precision strikes. Other notable mentions include Hibana, who can create multiple openings in reinforced walls with her X-Kairos pellets, and Sledge, who can take out various barriers with his trusty sledgehammer.
Recommended Loadouts and Gadgets
Recommended loadouts for these destruction-focused operators can amplify their effectiveness significantly. Operators like Maverick might benefit from a suppressor to stay stealthy while breaching, while Ash can opt for a reflex sight to enhance her aim. Gadgets such as smoke grenades can provide a crucial cover for their movements, allowing them to accomplish their objectives with minimal risk. Additionally, drones can scout ahead to identify the best spots to breach, giving your team the upper hand in decision-making.
It’s also wise to consider the synergy between operators when assembling your team. Pairing a destructible gadget operator with a shield operator can create a formidable front that forces the defenders to adjust their strategies. Likewise, having explosive gadgets like grenades or claymores can add layers of strategy to your breaching operations, ensuring that teams are prepared for any surprises that may arise. Thoughtful loadouts will ultimately help leverage environmental destruction to achieve significant tactical advantages on the battlefield.
Strategic Destruction Tips
Assuming you want to enhance your gameplay in Rainbow Six Siege through effective environmental destruction, it’s important to think deliberately about how you respond to the map’s layout. A well-placed breach can shift the tide of a match, allowing your team to outmaneuver the enemy. Here are some tips to keep in mind:
- Always consider the sightlines you want to create or eliminate.
- Use soft walls for optional routes but be wary of your teammates’ positions.
- Coordinate with your squad to make the most of your explosive gadgets.
- Be mindful of multiple entrances to a room when breaching; you may be exposed to crossfire.
- Don’t hesitate to destroy floors and ceilings for unexpected angles of attack.
Knowing how to leverage environmental destruction can create opportunities for your team while keeping the opposition on their toes.
Creating Lines of Sight
Now that we’ve laid the groundwork, creating lines of sight is one of the most effective ways to use environmental destruction strategically. By tearing down walls or creating holes, you can provide your team with new angles to spot enemies. This not only enhances your team’s offensive capabilities but also gives defenders fewer options for movement. Consider which walls allow for visibility into key areas, and break them down to seize control of the space.
Another tactic is to make careful use of hard surfaces. By creating partial openings rather than completely breaching a wall, you can limit enemy visibility, making it harder for them to engage you while allowing your teammates to line up shots. This mindful approach to environmental destruction offers both offensive and defensive benefits, maximizing the effectiveness of each breach.
Vertical Play Opportunities
Vertical play is another exciting element of environmental destruction that can change the course of a match. By breaching floors and ceilings, you create new opportunities for surprise attacks. Attackers can drop down from above or take advantage of sightlines from a higher elevation, while defenders can take control of the verticality to discourage pushes from below. Using this strategy effectively can overwhelm opponents and force them into difficult situations where they have to take the initiative.
Understanding the layout of each map will help you identify key areas where vertical destruction can pay off. Always be aware of which operators on your team have the ability to create these openings, such as Ash or Hibana, whose gadgets can reach hard-to-access spots. Additionally, having a handle on where enemy defenders are likely to hold can inform your decisions on which floors or walls to breach. Ultimately, this knowledge will empower you to use environmental destruction as a valuable tactical advantage.
Common Mistakes to Avoid
For players looking to master the art of environmental destruction in Rainbow Six Siege, being aware of common missteps can elevate your gameplay. While demolishing walls and barricades can create better sightlines and opportunities for ambushes, it’s important to engage in destruction thoughtfully. A popular pitfall is overusing explosives on locations that don’t grant tactical advantages, leading to wasted resources and compromised stealth.
Unnecessary Destruction
One of the biggest mistakes you can make is employing destruction without a clear purpose. Blowing up walls or hatches that don’t contribute to your team’s strategy can give away your position and draw unwanted attention. Ideal destruction should either facilitate an escape route, create a surprise angle, or deny the defending team favorable positions. Be mindful that every explosion has its price in gameplay; there’s nothing worse than blasting through a wall only for the enemy to be waiting on the other side.
Timing and Noise Management
Little consideration for timing and the associated noise can lead to significant issues. Destroying an environmental element was once a silent task, but now it sounds alarms across the map. If you decide to create a new opening when an enemy is nearby, you’re practically handing them a beacon of your location. The element of surprise is vital in Rainbow Six Siege, so ensure you’re not only attentive to when you destroy but also where and how that sound might reverberate within the game. Coordinate with your teammates to ensure you aren’t risking exposure during high-stakes moments.
This means being strategic about when to use explosives or breach tools, especially during tense phases of the round. If your teammates are engaged with enemies, making noise with environmental destruction could lead to a swift counterattack. On the other hand, waiting for the right moment when the focus is elsewhere can turn the tide of a battle. Overall, incorporating these timing and noise considerations into your gameplay can lead to smoother operations and a greater chance of winning rounds.
Advanced Destruction Techniques
To elevate your gameplay in Rainbow Six Siege, mastering advanced destruction techniques can give you a significant edge over your opponents. Here are some effective strategies to enhance your approach to environmental destruction:
- Utilize breaching charges and explosives for maximum damage.
- Create sightlines by opening walls and ceilings strategically.
- Use soft walls to create flanking routes.
- Coordinate with teammates to create distractions while destroying key areas.
- Consider both entry and exit points when planning destruction.
Destruction Strategies Overview
| Technique | Description |
|---|---|
| Wall Breaching | Open up walls to create new lines of sight or entry points. |
| Floor Destruction | Pierce through floors to drop down on unsuspecting enemies below. |
| Ceiling Shots | Attack enemies from above by creating openings in ceilings. |
Floor and Ceiling Tactics
Any player can leverage floor and ceiling destruction to dominate in Siege. One effective method is creating vertical angles by breaching floors, making it difficult for opponents to anticipate your movements. Dropping down into a room can surprise enemies who are not expecting a flank from above, and it’s often a great way to capitalize on their blind spots.
Furthermore, using explosives or shotguns on ceilings allows you to shoot through to the enemies below, giving you a clear advantage. Combining this tactic with a good understanding of the map layout helps identify high-traffic areas where you can eliminate opponents while remaining unseen. Consistent practice will make you more efficient at mapping out these opportunities during each match.
Rotation Hole Placement
Ceiling destruction can lead to opportunities for rotation holes, which are game-changers in terms of movement. Creating rotation holes not only provides you with quick escape routes but also enables you to change your positioning during a match effectively. By making these holes strategically, you can confuse the enemy regarding your position, making them think twice before pushing into your location.
Another advantage of well-placed rotation holes is the ability to set up traps. You can lure enemies into thinking they have free reign, only for them to find themselves ambushed as you rotate out of sight. Always consider the flow of the game and how enemies might react to your movements. This tactical awareness can significantly impact the outcome of rounds, providing openings for your team while limiting the enemy’s options.
Map-Specific Destruction Tips
Many players overlook the potential of using environmental destruction to their advantage in Rainbow Six Siege. Each map offers unique opportunities for strategizing around destructible surfaces that can change the tide of a match. By knowing the best locations and methods to create breaches, players can access new angles, deny entry to enemies, or even provide safer passage for their teammates. Here are a few vital tips to keep in mind:
- Always check the walls and floors for soft surfaces that can be breached by explosives or melee attacks.
- Utilize gadgets like Ash’s Breaching Rounds or Thermite’s Exothermic Charges wisely to create openings.
- Communicate with your team to coordinate destruction efforts and set traps for unsuspecting enemies.
- Know the map layout well to predict where your enemies may be hiding and plan your destruction accordingly.
Thou shall use environmental features to create game-changing moments!
Popular Destruction Spots
The game’s maps are filled with popular spots where players can utilize destruction effectively. For example, in the map ‘Border,’ breaching walls between the Armory and Workshop can create favorable sightlines for attackers, allowing you to catch defenders off guard. Another hot spot is the ‘Clubhouse’ map, especially the walls separating the Bar and Lounge, which can help disrupt the defenders’ setup and provide pathways for your team. Being aware of these key areas for destruction not only aids in individual plays but also enhances overall team strategy.
Site-Specific Strategies
Tips for site-specific strategies are vital for maximizing environmental destruction in Rainbow Six Siege. Each site has distinct characteristics that can influence your approach to destruction. For instance, on the map ‘Consulate,’ the garage can be breached to apply pressure on defending players who may think they’ve secured the area. While on the ‘Bank’ map, the walls surrounding the objective in the open area can be manipulated to create alternate routes and traps for unsuspecting defenders.
To elevate your game, always consider what destructible surfaces are available and how they can be used to deny sightlines or disrupt the enemies’ defense. Whether it’s creating new angles for shots, opening alternative entry points, or using destruction to manipulate the flow of the game, knowing how to utilize your environment will lead to more effective strategies and gameplay. Being creative with your approaches can really shift the balance during intense matches, making each play feel more impactful!
Summing Up
Hence, utilizing environmental destruction effectively in Rainbow Six Siege enhances both gameplay and strategy. By being mindful of your surroundings, players can create advantageous situations by breaching walls, flooring, and ceilings, allowing for unexpected flanking opportunities or denying access to critical areas. This dynamic approach not only increases your team’s effectiveness but also keeps the gameplay exhilarating for all participants.
Furthermore, communication with your teammates is key. Informing them of your destruction plans ensures everyone is on the same page, enabling a synchronized effort to control the environment. As you investigate your next match, think creatively about how to leverage destruction to turn the tide in your favor. Happy gaming!


